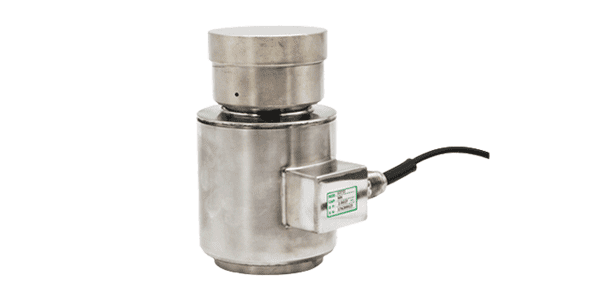
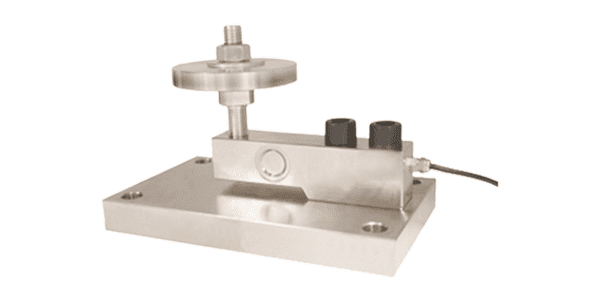
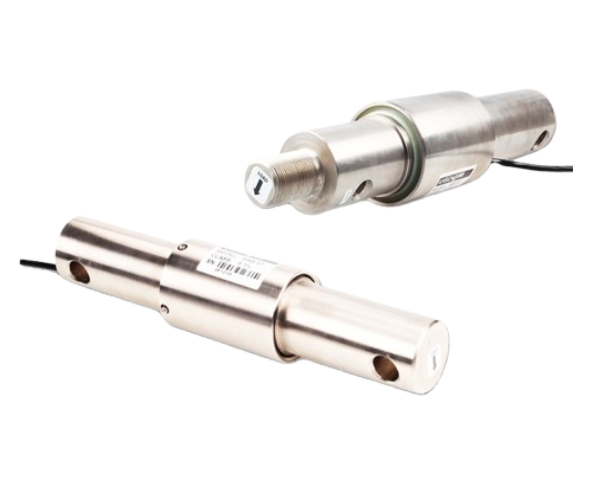
If you work with industrial scales, agricultural equipment, or manufacturing machinery, you've likely relied on load cells to measure force or weight accurately. These small but critical sensors convert mechanical pressure into electrical signals, forming the backbone of processes from packaging line quality control to grain silo inventory tracking. But like any piece of technology, load cells degrade over time—whether from wear and tear, moisture intrusion, or electrical damage. A faulty load cell doesn't just cause incorrect readings; it can lead to product waste, safety hazards, or costly downtime.
The good news? You don't need a PhD in electrical engineering to assess a load cell's health. One of the most reliable diagnostic tools is a resistance check, a simple test that reveals hidden issues before they escalate. In this guide, we'll break down everything you need to know about load cell resistance checks: why they matter, how to perform them step-by-step, and how to interpret results to keep your operations running smoothly. We'll also share region-specific tips to address common environmental challenges (looking at you, humid Southeast Asia and freezing Nordic winters) and SEO-friendly insights to help you find this resource when you need it most.
What is a Load Cell, and Why Does Resistance Matter?
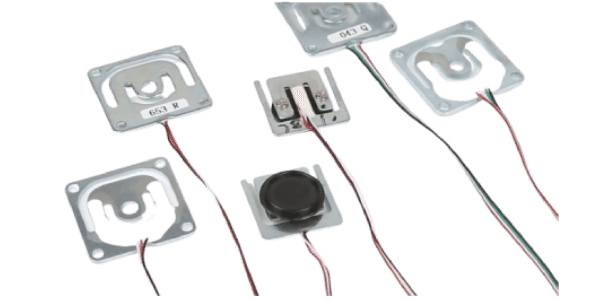
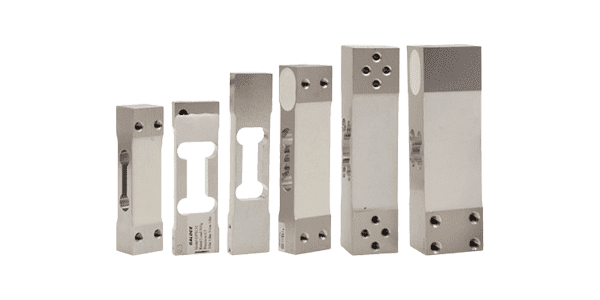
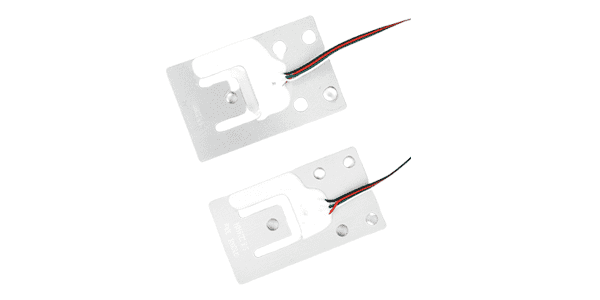
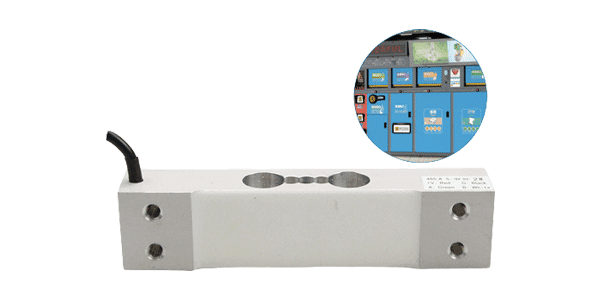
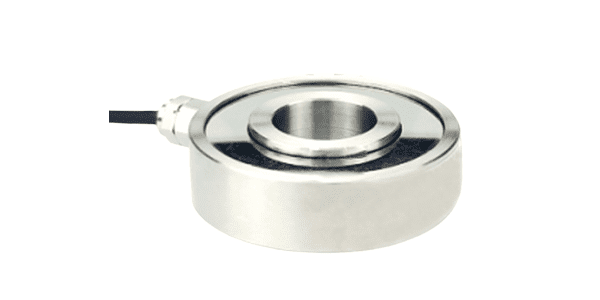
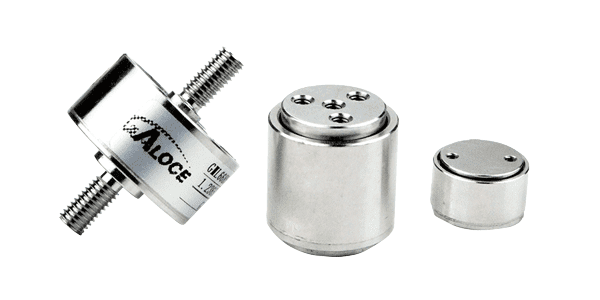
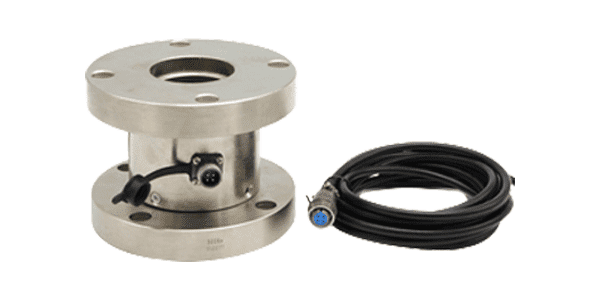
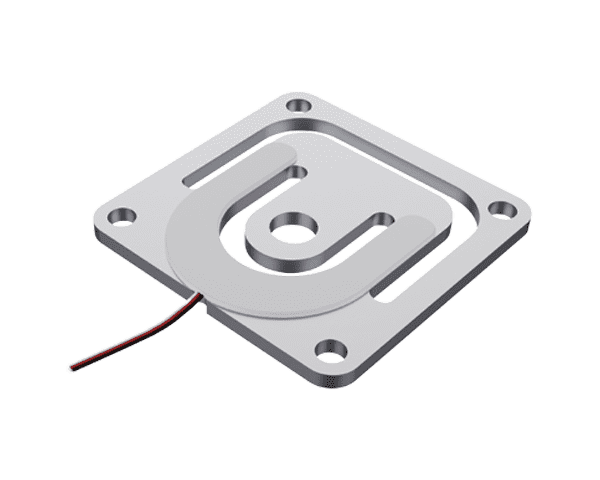
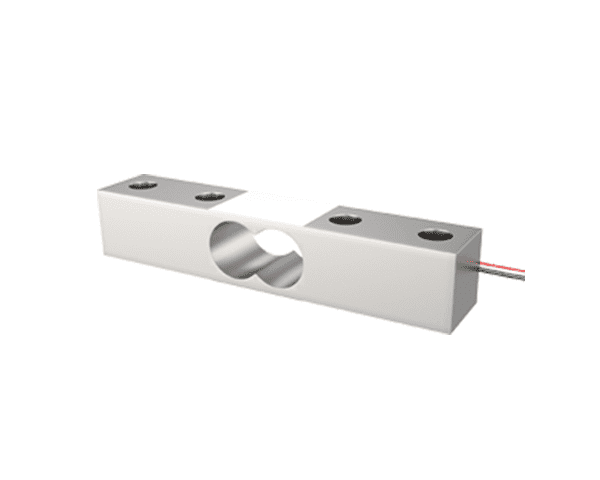
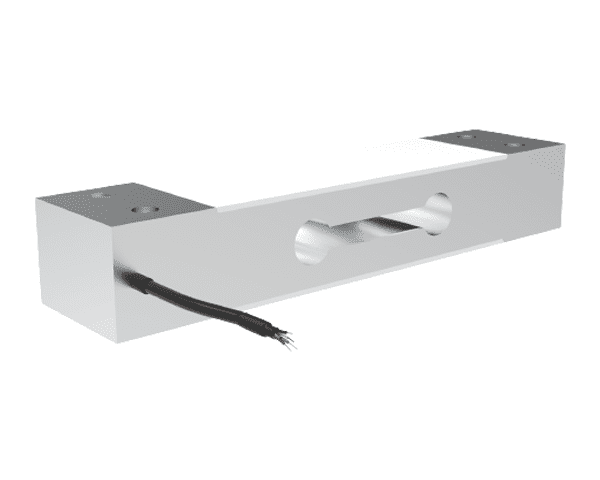
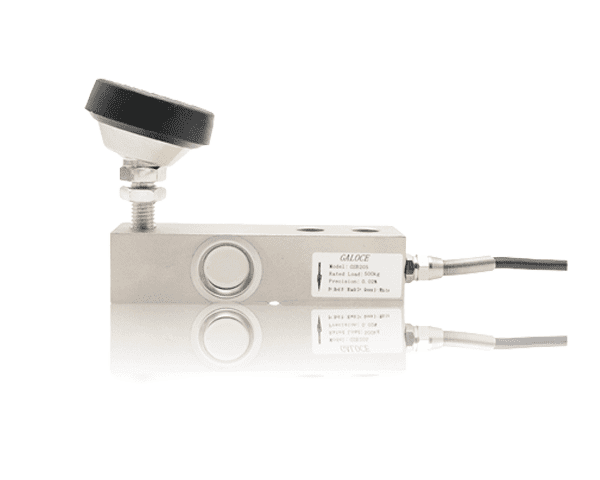
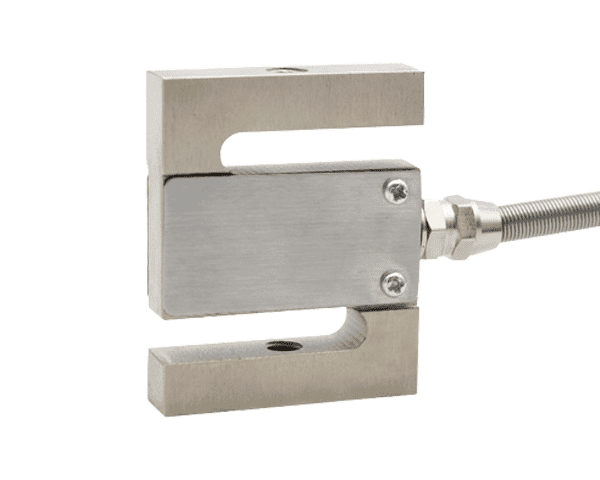
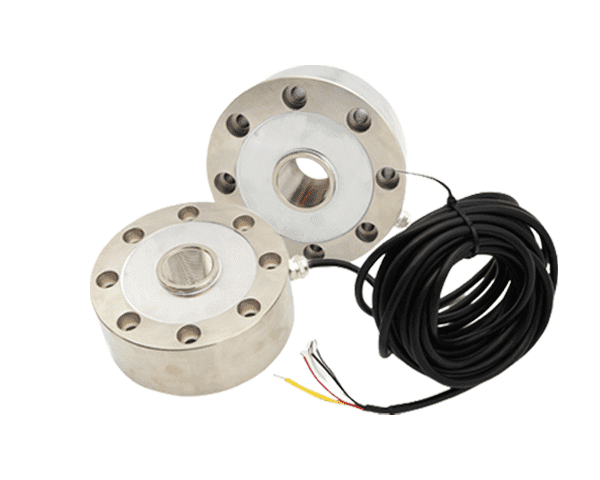
First, let's start with the basics. A load cell is a transducer that converts force (like weight) into an measurable electrical output. Most industrial load cells use strain gauges—thin, conductive wires bonded to a metal structure. When force is applied, the metal deforms, stretching or compressing the strain gauges. This deformation changes the gauges' electrical resistance, which the load cell converts into a voltage signal that your scale or monitoring system reads.
Resistance is the cornerstone of this process. Each strain gauge has a nominal resistance (typically 350 ohms, though 120 ohm and 1000 ohm models are common) that's calibrated during manufacturing. If any component's resistance drifts from its nominal value, the load cell's output becomes inaccurate. For example:
- A short circuit (resistance dropping to near zero) might mean a strain gauge wire has frayed and touched another wire, causing a direct current flow.
- An open circuit (infinite resistance) could indicate a broken wire or a strained gauge that's detached from the metal structure.
- A gradual increase in resistance might signal moisture corrosion, which eats away at strain gauge wires over time.
Resistance checks measure these deviations, giving you a clear picture of whether the load cell is functioning as intended. For businesses in regions like the UK, where strict food safety regulations require precise weight measurements for packaging, a resistance check can help you avoid non-compliance fines. In Australia's mining industry, where load cells are used to weigh ore trucks, a faulty sensor could lead to underloading (losing revenue) or overloading (damaging roads).
Key Resistance Parameters to Test
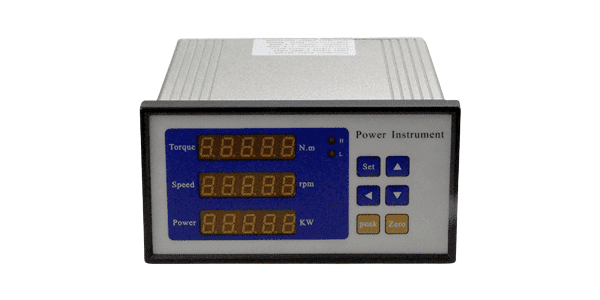
Load cells have four main electrical terminals (or wires) that you'll test:
1. Excitation (+) and (-): These terminals receive power (excitation voltage) from your system, usually 5V to 10V DC.
2. Signal (+) and (-): These terminals send the voltage signal generated by the strain gauges to your display or controller.
When testing resistance, you'll focus on three critical parameters:
1. Input Resistance (Excitation Terminals)
Input resistance is the resistance between the excitation (+) and (-) terminals. It measures the total resistance of the strain gauge bridge's input circuit. Nominal input resistance is typically 380 ohms for 350 ohm load cells (a bit higher than the individual strain gauges because the bridge configuration adds resistance).
2. Output Resistance (Signal Terminals)
Output resistance is the resistance between the signal (+) and (-) terminals. This measures the bridge's output circuit resistance. For 350 ohm load cells, nominal output resistance is usually 350 ohms (matching the strain gauges' nominal value).
3. Insulation Resistance (Terminal to Body)
Insulation resistance tests the electrical barrier between the load cell's internal wiring and its metal body (which is often grounded). This is critical for detecting moisture intrusion or damaged insulation. A healthy load cell should have insulation resistance of at least 500 megohms (MΩ) at 50V DC, though many manufacturers recommend 1000 MΩ or higher.
Pre-Test Preparation: Safety First
Before you touch any electrical components, prioritize safety. Load cells are often part of larger systems with live voltage, so follow these steps to avoid injury or equipment damage:
1. Disconnect Power: Turn off the power to the load cell's controller or indicator. If the load cell is hardwired, unplug the system from the wall outlet. Never perform a resistance check on a live circuit—it can damage your multimeter and cause electric shock.
2. Isolate the Load Cell: Disconnect the load cell from its wiring harness or controller. This ensures you're testing the load cell alone, not the entire system. If the load cell is mounted on a scale, remove any weight from the platform to avoid straining the sensor during testing.
3. Gather Tools: You'll need:
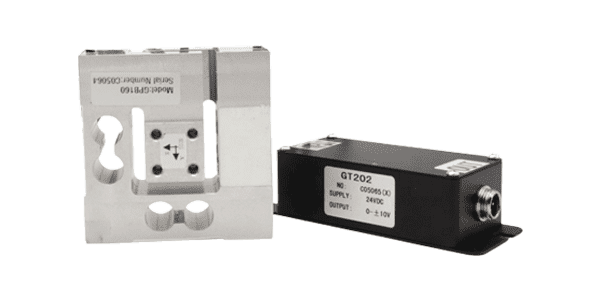
- A digital multimeter (DMM) with ohm (Ω) and megohm (MΩ) settings. For insulation resistance, a megohmmeter (or "megger") is ideal, but many high-quality DMMs have a 2000 MΩ range.
- A screwdriver (to access terminal blocks, if needed).
- A clean, dry cloth (to wipe dust or debris from terminals).
- A notebook and pen (to record readings).
4. Check the Multimeter: Calibrate your multimeter if it's been more than a year (or follow the manufacturer's recommendations). A faulty multimeter will give incorrect readings, leading you to misdiagnose the load cell.
Region-Specific Prep Tips
- Humid Climates (Southeast Asia, Southern US): Moisture is the #1 enemy of load cell insulation. Before testing, wipe the load cell's body and terminals with a dry cloth. If the load cell is installed outdoors (e.g., on a rice silo in Thailand), consider using a hair dryer on low heat to dry the terminals—just don't overheat the sensor.
- Freezing Temperatures (Nordic Countries, Canada): Cold weather can cause condensation inside the load cell when it's moved to a warm environment. If you're testing a load cell from a frozen warehouse in Sweden, let it acclimate to room temperature for 2–3 hours before testing to avoid false low insulation readings.
- Dusty Environments (Middle East, Australian Outback): Dust can accumulate on terminals and cause false resistance readings. Use compressed air (or a soft brush) to clean terminals before testing—this is especially important for load cells on construction equipment in Dubai.
Step-by-Step Load Cell Resistance Check
Now that you're prepared, let's walk through the test process. We'll use a 350 ohm load cell (the most common type) as an example, but you can adapt these steps to any nominal resistance.
Step 1: Locate the Load Cell Terminals
Most load cells have four color-coded wires:
- Excitation (+): Red
- Excitation (-): Black
- Signal (+): White
- Signal (-): Green
(Note: Some manufacturers use different color codes—always check the load cell's datasheet first. For example, Japanese load cells might use blue for signal (+) instead of white.)
If the load cell has a terminal block, open the cover to access the screw terminals. Label each terminal with tape if you're unsure of the wiring—this will make reconnection easier later.
Step 2: Test Input Resistance
1. Set your multimeter to the ohm (Ω) setting. For a 350 ohm load cell, use the 2000 Ω range.
2. Touch the multimeter's red probe to the excitation (+) terminal and the black probe to the excitation (-) terminal.
3. Wait 2–3 seconds for the reading to stabilize. Record the value (e.g., 378 Ω).
4. Compare the reading to the load cell's datasheet. For a 350 ohm load cell, input resistance should be within ±5% of the nominal value (typically 350–390 Ω).
Step 3: Test Output Resistance
1. Keep the multimeter on the ohm setting.
2. Touch the red probe to the signal (+) terminal and the black probe to the signal (-) terminal.
3. Stabilize and record the reading (e.g., 349 Ω).
4. Compare to the datasheet: Output resistance should be within ±0.5–1% of the nominal value (348–352 Ω for a 350 ohm load cell).
Step 4: Test Insulation Resistance
This test checks if moisture or damage has compromised the load cell's internal insulation.
1. Set your multimeter (or megger) to the megohm (MΩ) range.
2. Touch one probe to the load cell's metal body (or a grounded terminal, if available).
3. Touch the other probe to one of the electrical terminals (e.g., excitation (+)).
4. Wait 10–15 seconds (insulation readings take longer to stabilize) and record the value (e.g., 1200 MΩ).
5. Repeat for all four terminals (excitation (+), excitation (-), signal (+), signal (-)) and the body.
6. Compare to the datasheet: Insulation resistance should be ≥500 MΩ. If it's below 100 MΩ, the load cell is at risk of moisture damage.
Step 5: Reconnect and Verify
After testing:
1. Reconnect the load cell to the controller, making sure wires match the color code.
2. Turn on the power and apply a known weight (e.g., a 10kg calibration weight) to the scale. Check if the reading is accurate.
3. If the reading is correct, the load cell is healthy. If not, double-check your connections or repeat the resistance test.
How to Interpret Resistance Readings
Now that you have your results, let's figure out what they mean. Here's a cheat sheet for common scenarios:
Input Resistance:
Normal: ±5% of nominal
Abnormal <95%: Short circuit in excitation circuit
Abnormal >110%: Corroded terminals or broken wire
Output Resistance:
Normal: ±0.5–1% of nominal
Abnormal <95%: Short circuit in signal circuit
Abnormal >105%: Strain gauge damage or loose connection
Insulation Resistance:
Normal: ≥500 MΩ
10–100 MΩ: Mild moisture intrusion
<10 MΩ: Severe moisture damage or broken insulation
Infinite (open circuit): No connection to body (check probe placement)
Real-World Example
Let's say you're a farmer in Iowa using a load cell to weigh corn in a grain bin. You notice the scale is reading 5% low, so you perform a resistance check:
- Nominal input resistance: 380 Ω → Your reading: 360 Ω (within ±5%—good).
- Nominal output resistance: 350 Ω → Your reading: 400 Ω (14% above nominal—bad).
- Insulation resistance: 800 MΩ (good).
The high output resistance suggests a strain gauge has stretched or detached. You replace the load cell, and the scale starts reading accurately again—saving you from underreporting your corn yield and losing money at the grain elevator.
Common Load Cell Issues Detected by Resistance Checks
Resistance checks uncover a wide range of problems, but these are the most frequent:
1. Moisture Intrusion
Moisture is the leading cause of load cell failure, especially in outdoor applications. When water seeps into the load cell's housing, it corrodes strain gauge wires and reduces insulation resistance. Symptoms include fluctuating readings and low insulation resistance (often <100 MΩ).
Fix: If moisture is mild, dry the load cell with a hair dryer and seal the housing with silicone caulk. For severe damage, replace the load cell. In humid regions like Malaysia, use waterproof load cells with IP67 or IP68 ratings.
2. Strain Gauge Damage
Strain gauges can break from overloading (e.g., dropping a heavy pallet on a scale) or fatigue (repeated stress over time). A broken gauge increases output resistance. Symptoms include consistent underreadings or overreadings, and output resistance 10%+ above nominal.
Fix: Replace the load cell (strain gauges can't be repaired in the field). For high-stress applications (e.g., construction cranes in Germany), use load cells with overload protection (up to 200% of capacity).
3. Loose or Corroded Terminals
Terminals can loosen from vibration (e.g., on a conveyor belt in the UK) or corrode from exposure to chemicals (e.g., fertilizer in Brazil). Loose terminals cause erratic resistance readings; corrosion increases resistance.
Fix: Tighten terminals with a screwdriver and clean corroded parts with a wire brush. For chemical environments, use stainless steel terminals.
4. Short Circuits
A short circuit happens when two wires touch, causing resistance to drop to near zero. This is often caused by frayed wires or incorrect wiring.
Fix: Inspect wires for fraying and replace damaged sections. If the short is inside the load cell housing, replace the load cell.
Region-Specific Load Cell Challenges and Solutions
Load cell performance depends heavily on the environment. Here's how to address common regional issues:
1. Nordic Countries (Norway, Sweden, Finland)
Challenge: Freezing temperatures (-20°C to -40°C) cause condensation when load cells are moved indoors, leading to moisture damage. Snow and ice can also accumulate on load cells, adding extra weight.
Solution: Use load cells with extended temperature ranges (-40°C to 80°C). Install a heated enclosure around outdoor load cells (e.g., on a lumber scale in Sweden). Perform monthly insulation resistance checks during winter.
2. Southeast Asia (Thailand, Indonesia, Vietnam)
Challenge: High humidity (70–90%) and heavy rainfall lead to chronic moisture intrusion. Pests like ants can also chew through wiring.
Solution: Choose IP68-rated load cells (completely waterproof). Apply a silicone sealant to terminal blocks to keep out moisture. Install pest screens around load cell housings.
3. Middle East (Saudi Arabia, UAE)
Challenge: Extreme heat (50°C+) and sandstorms cause strain gauge degradation and dust buildup on terminals.
Solution: Use load cells with high-temperature strain gauges (up to 120°C). Install dust covers on outdoor load cells (e.g., on a oil tanker scale in Dubai). Clean terminals weekly with compressed air.
4. North America (US, Canada)
Challenge: Wide temperature fluctuations (e.g., -30°C in winter to 35°C in summer) cause thermal expansion, which strains load cells. Agricultural load cells are exposed to fertilizers and pesticides.
Solution: Use load cells with temperature compensation. For farm equipment (e.g., a grain truck scale in Iowa), choose corrosion-resistant stainless steel load cells. Perform quarterly resistance checks during harvest season.
Pro Tips to Extend Load Cell Lifespan
A resistance check is a diagnostic tool, but prevention is better than cure. Here's how to keep your load cells healthy:
1. Install Correctly: Follow manufacturer guidelines for mounting. Use shock absorbers for high-vibration applications.
2. Protect from the Elements: Use waterproof enclosures for outdoor load cells. In humid regions, add a desiccant packet inside the enclosure.
3. Clean Regularly: Wipe terminals with a dry cloth monthly. For dusty environments, use compressed air.
4. Calibrate Annually: Even a healthy load cell can drift over time. Calibrate with a known weight.
5. Monitor Performance: Use a condition monitoring system (CMS) to track resistance and output over time.
FAQs About Load Cell Resistance Checks
1. Can I use a multimeter for load cell resistance checks?
Yes! A digital multimeter (DMM) with ohm and megohm settings works for most tests. For insulation resistance, a megohmmeter is more precise, but a high-quality DMM (with a 2000 MΩ range) is sufficient for basic checks.
2. How often should I perform a load cell resistance check?
It depends on usage: Heavy use (24/7): Monthly. Moderate use (8 hours/day): Quarterly. Light use (occasional): Annually. After extreme weather (floods, snowstorms): Immediately.
3. What is the nominal resistance of a load cell?
Nominal resistance is the standard resistance of the strain gauges, usually 350 ohms. 120 ohm and 1000 ohm load cells are also common—check the datasheet for your model.
4. Can a load cell work with low insulation resistance?
It might work temporarily, but it's unreliable. Low insulation resistance (below 100 MΩ) allows electrical leakage, causing drifting readings and zero instability. In wet conditions, readings may fluctuate wildly. Replace the load cell or dry it thoroughly immediately.
5. How do I know if my load cell is broken?
If resistance readings deviate beyond tolerance (>5% for input, >1% for output), insulation reads below 500 MΩ, or the scale shows erratic/zero readings despite correct wiring, your load cell is likely damaged.
6. What causes a load cell to drift?
Drifting usually stems from moisture intrusion, temperature extremes, loose connections, or aging strain gauges. Check insulation resistance first—this is the #1 culprit in outdoor or humid environments.
7. Can I repair a load cell myself?
No. Strain gauges require precise bonding and calibration in controlled factory conditions. Field repairs compromise accuracy and safety. Always replace faulty load cells with OEM equivalents.
8. How long does a load cell last?
With proper maintenance: 5-10 years in industrial settings, 10-15 years in laboratory conditions. Harsh environments (marine, chemical, extreme temperatures) reduce lifespan to 2-5 years. Quarterly resistance checks extend operational life significantly.
Conclusion: Keep Your Operations Running Smoothly
Regular resistance checks are your first line of defense against costly downtime and measurement errors. By investing 15 minutes in quarterly testing, you prevent the headaches of inaccurate shipments, regulatory non-compliance, or production halts.
Whether you're weighing grain in Iowa, monitoring chemicals in Germany, or loading ships in Singapore, this simple diagnostic ensures your load cells deliver accurate, reliable data year after year. Make load cell resistance testing a routine part of your maintenance schedule—your bottom line will thank you.
Have questions about your specific load cell setup? Consult your manufacturer's datasheet or contact a certified technician for complex industrial applications.